Wednesday, 25 April 2012

Worried Carousel Horse ...


Three days later and the horse is done!! Hopefully by the end on this week I will have completed the remainder of the models. 

Textures For The Carousel Horse

CAROUSEL HORSE TEXTURE...

SADDLE TEXTURE ...

EYE TEXTURE ...

CAROUSEL HORSE DISPLACEMENT MAP ...


SADDLE DISPLACEMENT MAP...


Sunday, 22 April 2012

Horse in Maya


As you can see I've just started modelling the carousel horse for the beginning of our piece. Hopefully I can complete it for hand in!! 
(Fingers crossed)

Friday, 20 April 2012

Carousel Line Drawing

Here's the drawings I'll be using in Maya as a guide for a very worried looking carousel horses.

Saturday, 14 April 2012

Band for Cockerel


Band for Cockerel - Modelled in Maya then taken into ZBrush. Next step is to UV Map it and then export the Displacement Map back into Maya.

Friday, 13 April 2012

Finished Cockerel


We've put the cockerel on the carousel (modelled by Hollie) with the with the rest of the Models. Looking at this really gives you a sense of what the piece will look like, can't wait to finish.

Cockerel


The Cockerel is coming along ... I'm still not happy with it, the tail feathers still need UV mapping properly and therefore texturing. When that's done I will be concentrating on modelling the saddle and adding your typical carousel like decoration. Hopefully when that's all done I'll feel better about the model.


As you can see I've added a band around the cockerel. I'm going to finish this with attaching a saddle to the band, hopefully with the saddle and texture it'll look better.

Thursday, 12 April 2012

Cockerel Displacement and Textures

COCKEREL TEXTURE...

COCKEREL DISPLACEMENT MAP...


Cockerel Finished in ZBrush


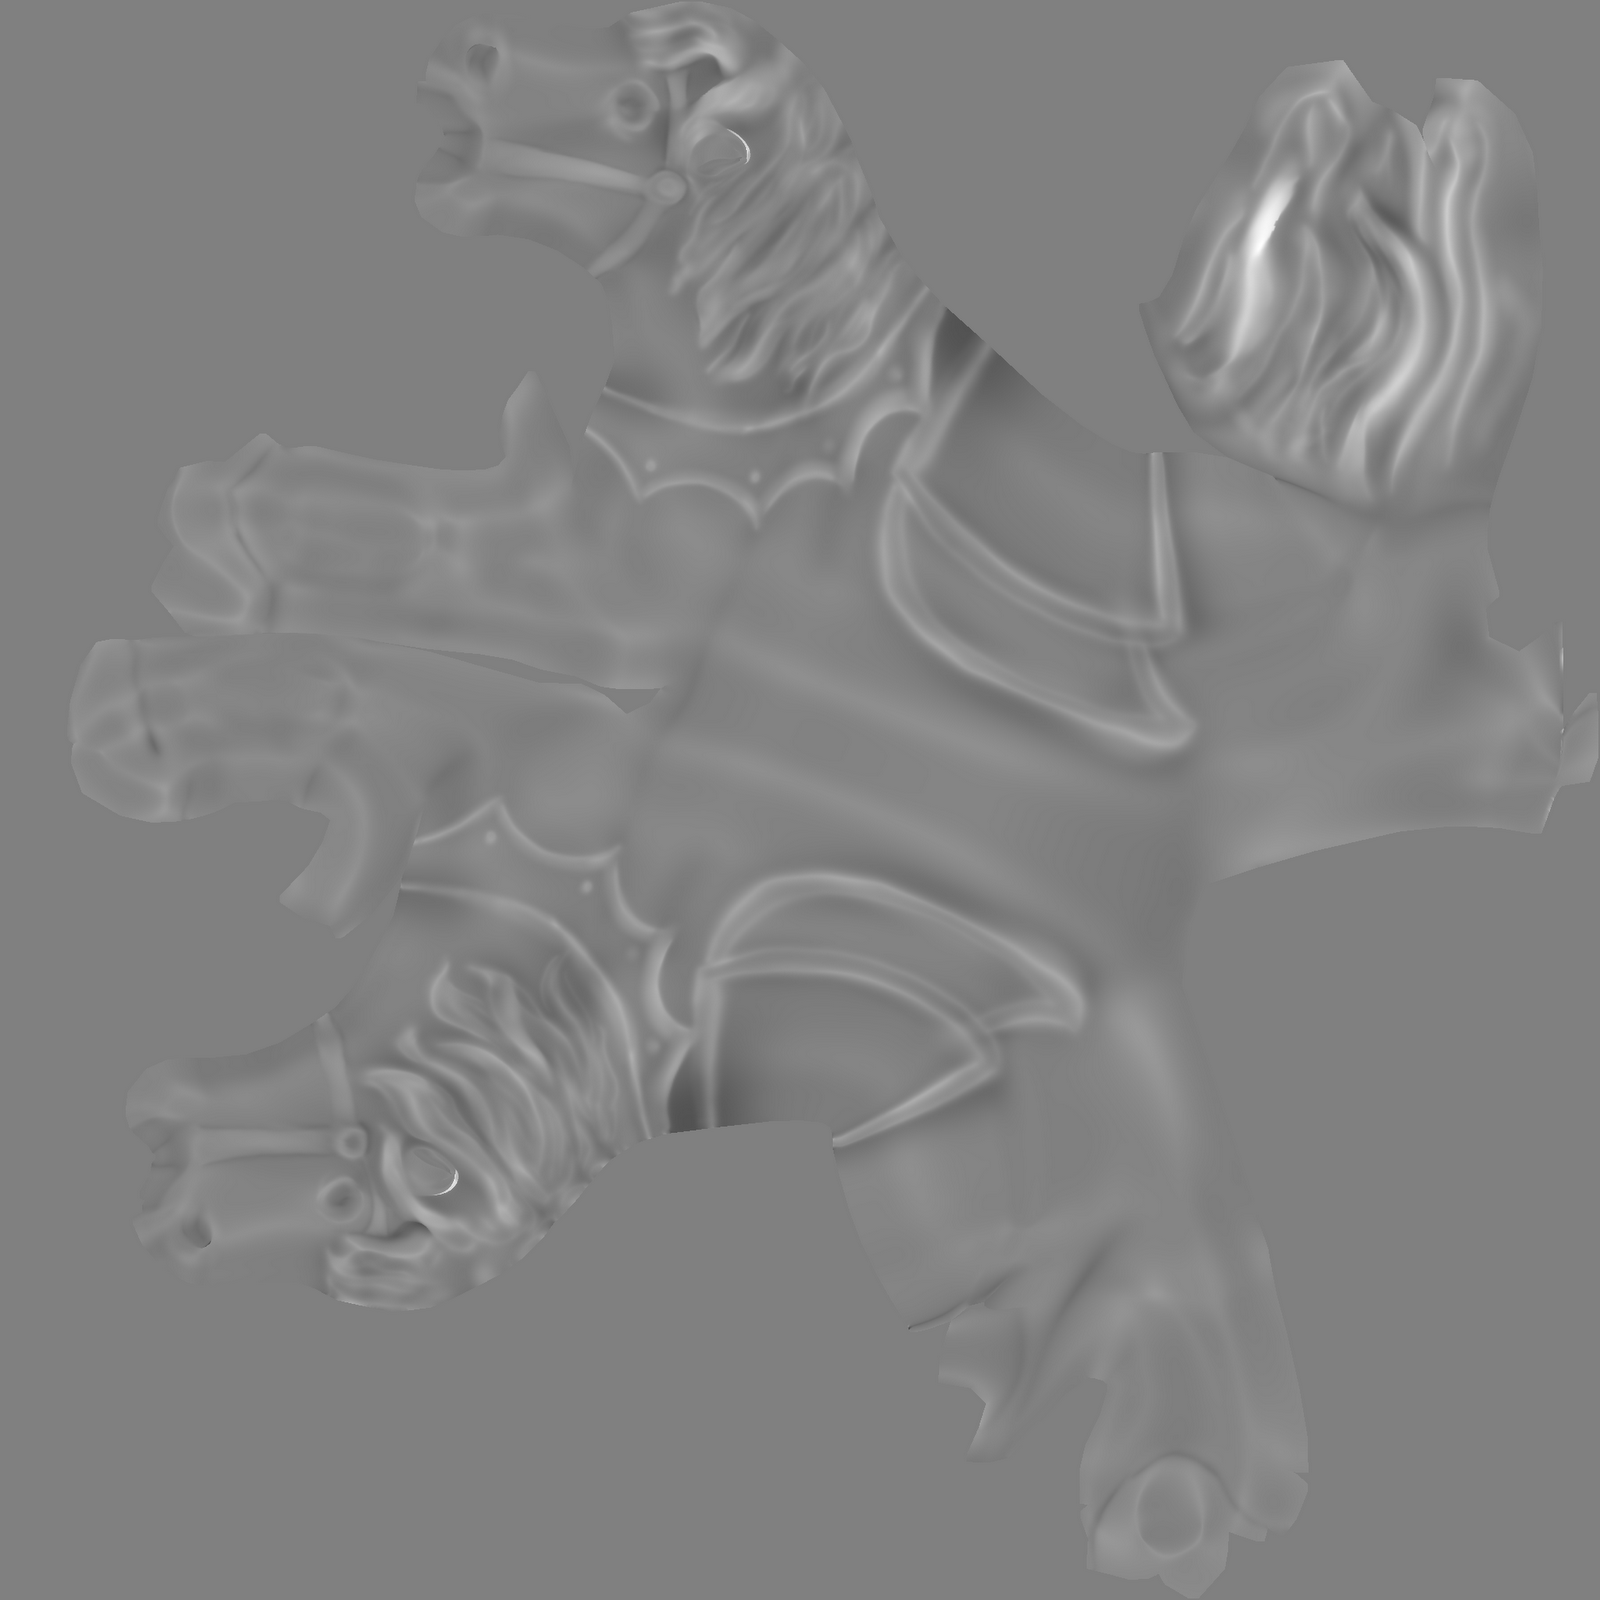
Next I'll be exporting the the displacement map into Maya and hopefully I can get the displacement map working looking like this in Maya. I'll add a texture and tail feathers and this model is done! 

Friday, 24 February 2012

Fairground Organ

The Organ is now almost completely UV mapped, there are just a few areas which need tweaking - areas such as the centre of the lower middle panel and maybe a little time needs to be spent on the other two panels. Other then that the organ is mapped and ready to go into Zbrush where I'll make a displacement map which will enable me to add fine detail.
Just a still to keep you updated with progress. As you can see I've been concentrating on modelling the fairground organ. I hope to have this UV Mapped by tomorrow then start and concentrate on the three figures which will sit on the posts to the left and right of the central section and the third figure (music conductor) which will sit in the middle of the pipes in the center section.

Thursday, 26 January 2012

Chair-o Planes - A work in progress


Here's the swings with the texture attached ... next I'm going to take it into ZBrush and add a displacement map for decoration round the centre and top ot the model.

Wednesday, 18 January 2012

Update ... Chair O Planes

Finally finished the task of UV mapping the chair-o-planes is complete - I'm quite happy with the result as the squares all seem to be in order and un stretched. Next step now is to take it into ZBrush before finally adding the textures.

Friday, 13 January 2012

Update - Adding Detail To The Cockerel In ZBrush


For Now I've finished modelling the cockerel's body in Maya. As you can see I've exported the model from Maya and imported it to ZBrush. Modelling in ZBrush is proving to be a more difficult task then I had thought it would be. Hopefully after a few days playing round with the program I'll become more familiar with the controls and therefore feel at ease with using the program.

Tuesday, 10 January 2012

A Quick Update For The Cockerel Model


Another update ... as you can see I've added in the legs, feet and I'm just starting to play around adding in the tail feathers, I'm planning on texturing the plane and adding an alpha for any gaps in the feathers. I'll take it into Zbrush and put a bit of detail on the feathers.

An update of what the model is looking like so far after an hour of two of modelling. I think it's going well, there haven't been many obstacles as yet but I'm sure some will crop up soon enough. Next thing to do - add legs, eye sockets and eyes, then to add in general and tail feathers which is where most of my time will be spent and where my problems will lie. As I'm modelling this for a carousel that task is made a little easier as the feathers and the model itself will be modelled to look as though it were carved from wood.

Sunday, 8 January 2012

Cockerel


This is a quick guide drawing I've done for the cockerel, which will be one of the carousel creatures. I think it will be really good to model something organic for once, it will be good to move out of my comfort zone of modelling safe things like buildings and other structures, which so far haven't posed me many problems at all. Although I do think they were good starting points for me. I'm looking forward to texturing the cockerel as it will give me a great opportunity to explore colour palettes which I may not usually look at using. Because the theme of our piece is twisted and surreal it will give me a chance use very deep, rich colours. The colours won't necessarily be the ones used in the drawing to the left.

Monday, 14 November 2011

Helter skelter

Helter Skelter is now UV Mapped - Next I'm going to take it into Zbrush where I'll add a displacement map before texturing.


Here is what the Helter Skelter looks like so far ... I used deformers to shape both the slide and the top of the Helter Skelter. Using the derformers was great as it saved me a lot of time which I would have spent moving the vertex around trying to achieve the shapes which have been achieved.I still need to add stairs both inside and out which won't take long. Also in the original drawings there were light bulbs in strips down the outer walls of the Helter Skelter which will be added next, then after that there's the final touches to add in - signs, detail around the entrance and top but, other then that the Helter Skelter is pretty much done and out the way until we start mapping and texturing.

Tuesday, 11 October 2011

Helter Skelter Outline Drawing.


A simple outline drawing of how the helter skelter will look once modelled. This looks as though it will be a fun piece to model, I’m particularly looking forward to working out how to get the bulbs looking as though they were working like real bulbs do.

Sunday, 2 October 2011

Possible Carousel Creatures

Here you can see some rough ideas I had for creatures which will eventually be modelled and, mixed with Hollie's models will form our carousel. I'm looking forward to doing colur tests for the creatures and experimenting with different colours to create colour palettes which will emphasise the surrealism of our film.
Here are some photos I collected when a travelling carousel visited the local town centre.

Saturday, 1 October 2011

Third and Final Year ... The Animation Station

This year I will be concentrating on 3D modelling, lighting and texturing.

This year I'm working with Hollie Steptoe to create a fairground environment with a bit of movement incorporated, but other than that there will be no animation as it is meant to be abandoned and run-down, this will open up an opportunity for us to experiment with textures and lighting to introduce a surreal and eerie feeling.

Friday, 20 May 2011

Final Animation "Four and Twenty Blackbirds"


"Four and Twenty Blackbirds" - I found this project challenging as I worked alone. To begin with I don't think I really had the skill set to complete all aspects of the project. Having finished I'm glad I worked alone as it has forced me to learn with the help of tutors things that other wise I wouldn't have had to have learnt if I was in a group. I feel that the project has improved my modelling skills in Maya, I learnt how to UV Map and texture 3D objects. The 3D side of the project was the part I enjoyed most. I really disliked animating and think that the animation would have benefited from having someone else in the group who could animate better than I. Next year I hope to concentrate more on 3D and veer away from the 2D aspect of animation.

FOUR AND TWENTY BLACKBIRDS ANIMATION


Thursday, 19 May 2011

House Through Woods


This screen shot shows the set up in Maya to make the below video.


Again the video has uploaded stretched but it shows a glimpse of what the final thing will look like as the camera goes through the trees in towards the house.

A problem whilst rendering


I had a problem with the toon shader and outline I put on the house where the outline shows through over all the other layers when rendered. After talking to Simon we came to the conclusion that I needed to render it out on separate layers (the trees + flowers on one and the house on the other) and turn off the outline on the house when rendering out the trees and flowers in front of the house.

Sunday, 15 May 2011

Mouse Sneak Across Sill

IMPROVED MOUSE SNEAK ...


This clip runs just after the mouse climbs onto the sill. as you can see the mouse tip-toes across the window and then reacts to what will be birds erupting from the pie, I have yet to add the birds flying out of the pie. again I found animating this difficult, I decided to keep the mouse character simple to make sure continuity was kept in the mouse's appearance.

FIRST ATTEMPT ...

Mouse climb up onto sill

MOUSE CLIMBING ONTO WINDOW SILL ...


The video has uploaded a little stretched but, it shows the mouse climbing up onto the window sill. When I was doing this piece thought about what the mouse is doing, how he would crouch slightly to one side before springing up to the sill. I did this to avoid a symmetrical jump, as he reaches up one hand is always higher, and his hands land on the sill one hand again lands before the other. As he gets up from hanging on the edge I dipped his head and arched his back to show a slight struggle.


This image shows the rough frames for the mouse jumping onto the window sill. It took a long time for me to work out the mouses' movement as animating is a point which I've seemed to avoid, therefore I found it quite difficult at times to get the acting and timing right, also as the mouse is jumping up I had to think about his size getting smaller as he reached the window sill top.

Tuesday, 10 May 2011

Backgrounds

BEGINNING THROUGH TREES ...


Here is the background for the beginning of the animation, all the trees are on different layer so the camera can zoom in down the avenue toward the house in the distance, which I have modelled in Maya.

TREES IN FRONT OF THE HOUSE ...


I have put these trees on separate planes in front of the house model in Maya so that I can set the camera to go through them and zoom to the house and into the kitchen window.

KITCHEN WINDOW ...


Here is a sketch of what the window will eventually look like once it's been modelled and the kitchen interior has been added to a plane and placed inside the model.


I need to place the below image of the kitchen inside the model on a plane and group it with the house in Maya so the plane moves with the house as the camera move in towards the house. If I didn't do this then the house would curve round and the plane would stay in the same place.


KITCHEN ...


This image will be placed on a plane inside the house model for the scene where the mouse jumps up onto the window sill and sneaks across to the pie. Drawing the kitchen will save me a lot of time, I would have liked to model the inside of the house as I wanted to concentrate on modelling and lighting, but as I'm doing this project on my own I don't think I'll have time to do so, which is a shame as I have enjoyed what modelling I've done so far this year.

WINDOW SILL ...


This was meant to be the background for the mouse walking across the window sill to the pie, I wanted to have some of the surrounding area included to add more colour in the scene but unfortunately it was the wrong angle for the mouse to walk across.

NEW WINDOW SILL ...


I wanted to introduce some of the the surrounding area in this image to add a variety of colours but could because of the angle I animated the mouse at. I did think about changing the colour of the mouse from brown as the character gets lost in the background which is also brown.

BACKGROUND FOR THE HOUSE ...


This was going to be the background for my house to sit in but I decided against it as the trees would have been massive in comparison to the house as the plane it would have been on would have to much bigger than the others and therefore the image would have had to have been a lot smaller on the plane, and therefore I think would have taken the audience's eye off the house.